 PaintBeforeYouSlice
Free tutorial
How to color an STL on iPad and export a color 3MF to Bambu Studio
Give a one-color model its flight suit, helmet, and insignia. Paint on iPad, then check which filament will print each detail on your Mac or PC.
Free to import, paint, and save. Export is $4.99 once in the U.S.
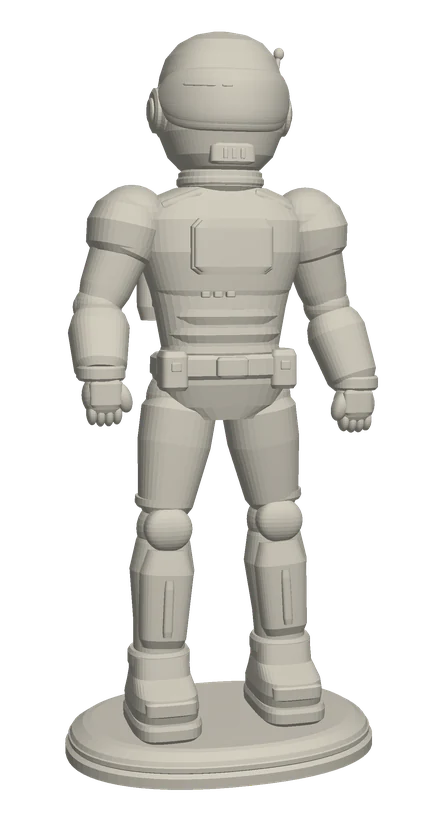
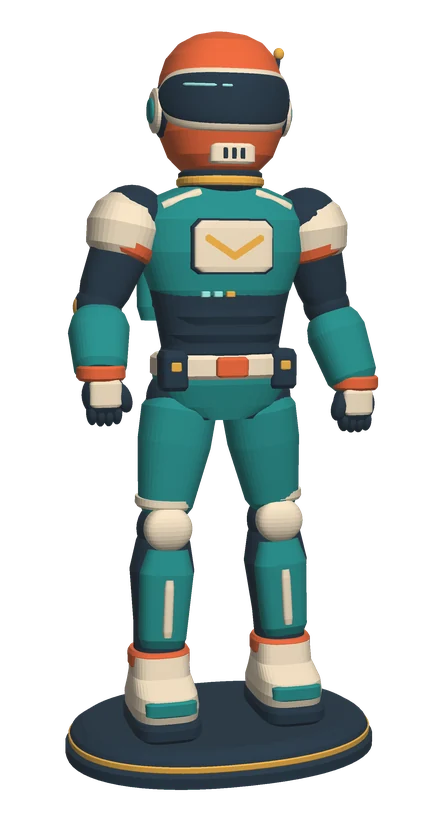
1. Import an STL from Files
Save your STL somewhere you can find in the iPad’s Files app, such as Downloads. Open PaintBeforeYouSlice, tap Import Model in the project gallery, and select the file. The app makes a local project and keeps your original STL intact.
If you want to try the tools before choosing a model, the gallery menu includes New Practice Sphere.
2. Fill the armor and brush the details
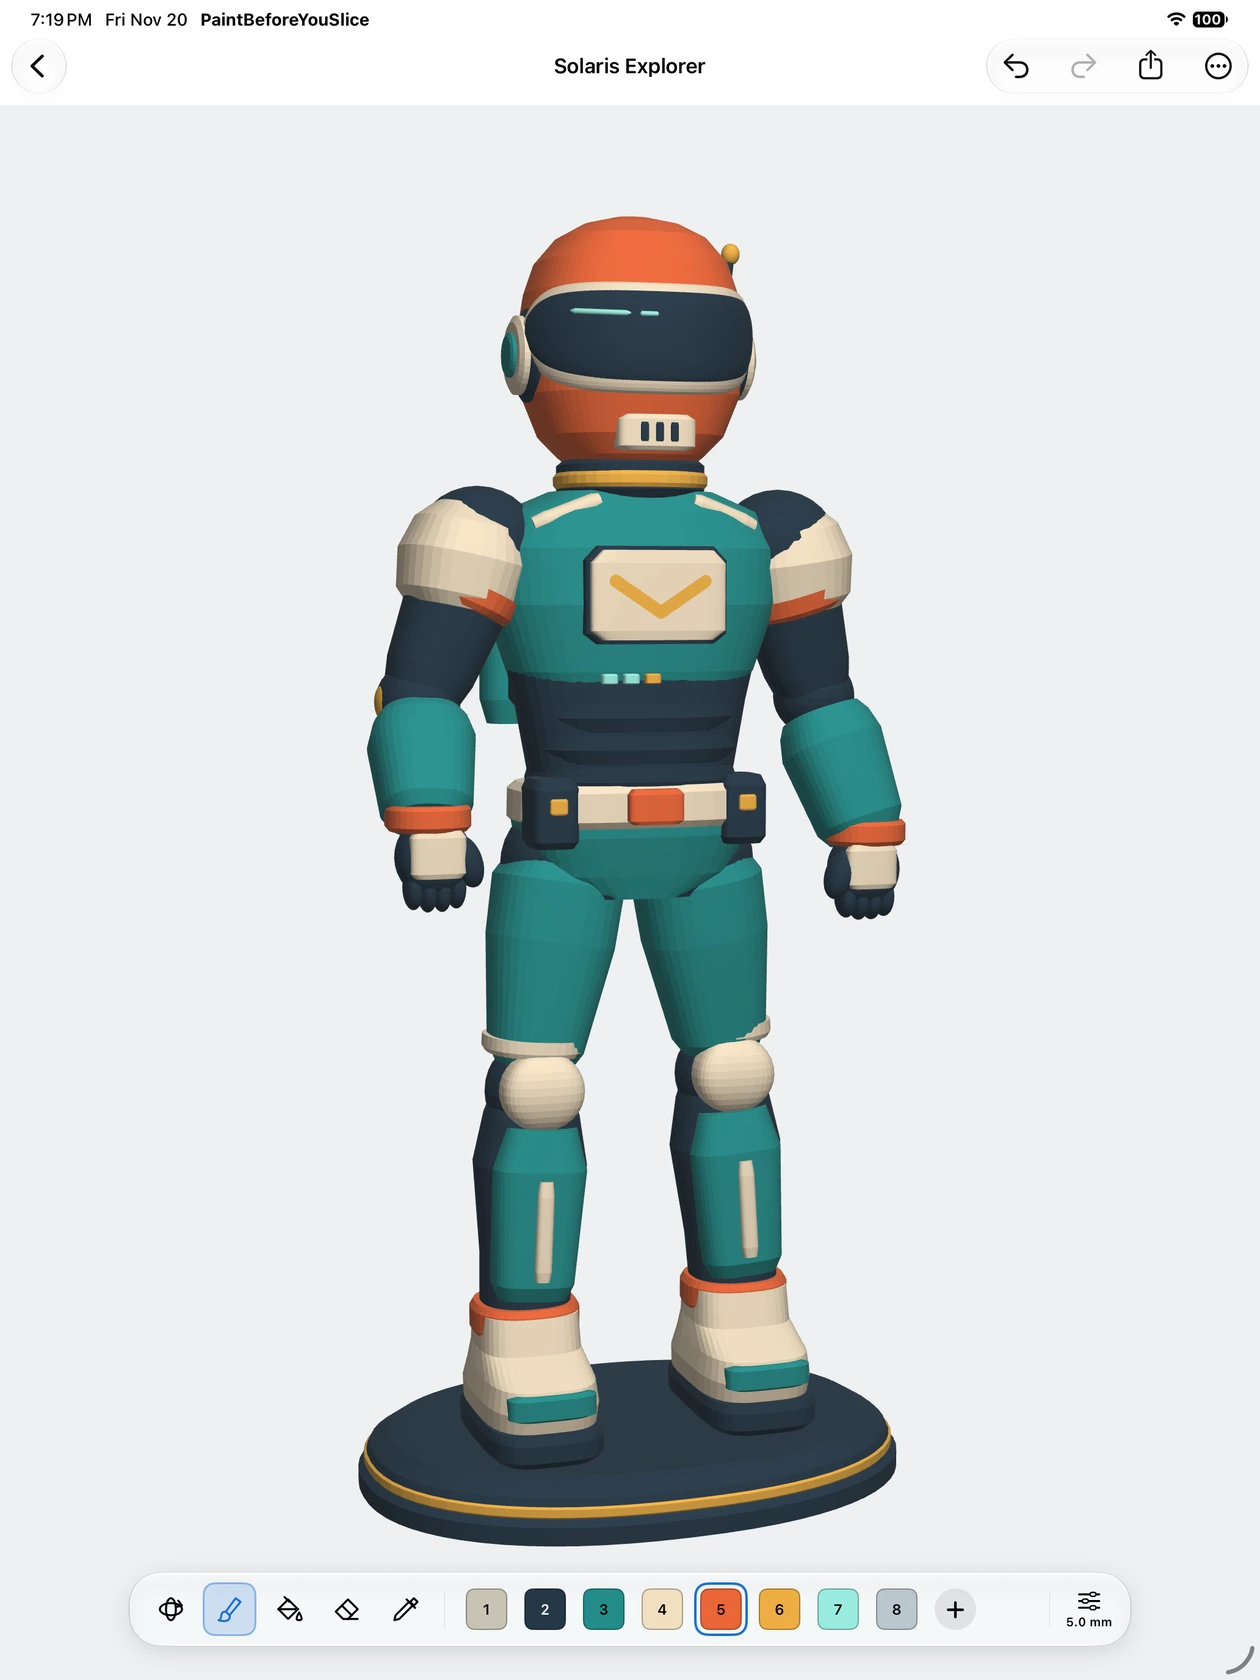
Tap a numbered swatch, choose Fill, and set the fill mode to Region. Tap the surface you want to paint. If color spills over the edge of a panel, undo, lower the region angle in Tool Options, and tap again. For a separate piece like a helmet shell, Whole Part fills the connected piece in one tap.
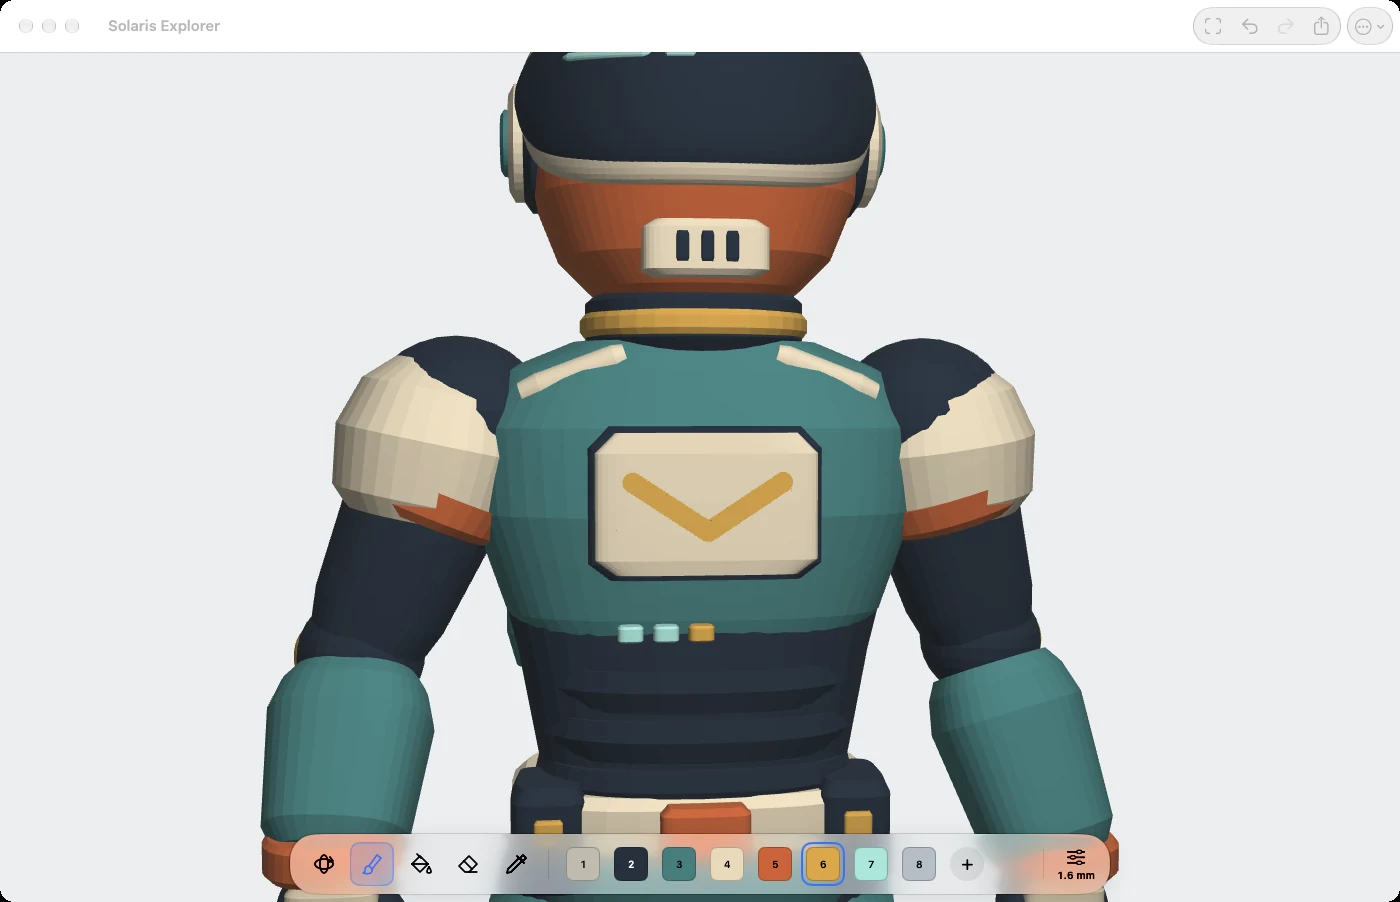
For the chest insignia, pinch to zoom in, select the gold swatch, and switch to Brush. Reduce the brush diameter in Tool Options. With a compatible Apple Pencil or your finger, draw a short stroke down to the point of the chevron and another up the other side. Turn the figure to check its edges.
Each painted surface remembers its swatch number. The palette holds up to 32 slots. Pick as many colors for this print as your printer and filament setup can handle.
- Slot 2
- Graphite suit
- Slot 3
- Sea-green armor
- Slot 5
- Orange helmet
- Slot 6
- Gold chevron
3. Export a Bambu Studio 3MF
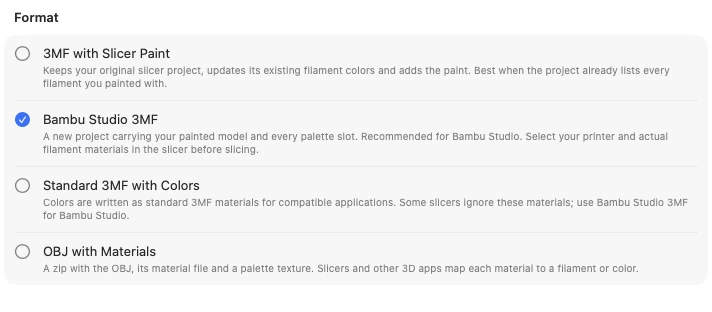
In the editor, open Export and select Bambu Studio 3MF. This format puts the geometry, painted areas, and numbered palette into one project file.
Importing, painting, and saving local projects are free. To write the 3MF, Unlock Export is a one-time $4.99 purchase in the U.S. If you already bought it with the same Apple Account, use Restore Purchase.
Tap Export, name the file, and pick a folder in Files. Choose iCloud Drive if you want the copy to appear on your computer. Save it with the .3mf extension.
4. Open the 3MF as a project
On a Mac, open iCloud Drive in Finder, or AirDrop the saved 3MF from Files on your iPad. On a Windows PC, download the file from iCloud Drive in a browser or open it with iCloud for Windows.
In Bambu Studio on the computer, choose File, then Open Project, and select the exported 3MF. If prompted, choose the full project. In Prepare, look for the colored model on the plate and the numbered swatches under Project Filaments. Download Bambu Studio for your computer
What we checked Bambu Studio opened the Solaris Explorer 3MF and exported it again with all 64,836 painted triangles. The printer and spool checks below happen on your setup.
5. Set up the printer and materials
In Prepare, choose your printer model, installed nozzle size, build plate, and process preset. The exported file starts with a generic setup. Arrange the model on the plate and check its size and orientation.
For each project filament, choose a material preset that matches the spool you plan to use. For example, if the gold chevron will use gold PLA, give slot 6 the appropriate PLA preset. Check the colors again after changing presets.
6. Preview the layers and match the spools
Choose Slice plate. In Preview, set the color scheme to Filament and move the layer slider through the model. At chest height, look for the gold paths that form the chevron. Check the filament changes and make sure each intended color appears on the figure itself.
When you’re ready to print, open Print plate and select the physical printer. With an AMS (Automatic Material System), review each project filament’s suggested bay. If the gold PLA is in bay A2, map the chevron’s slot 6 to A2. Check the actual spool’s color and material before sending the job. For another supported filament setup, check its spool or tool assignments in the same way.
You can inspect the sliced layers without a printer connection and save the project for later. Bambu Lab’s guide to AMS filament mapping